Razorpay Laravel-Integration
In the daily life accepting payments through website are common. For that you must need a payment gateway which is integrfated with our website or web application. Introducing the simplest way to integrate Laravel with Razorpay,
At First,
Create an account on razorpay: https://razorpay.com/
- Signup and Login to Razorpay.com and set the testmode on.

2. Create a laravel project
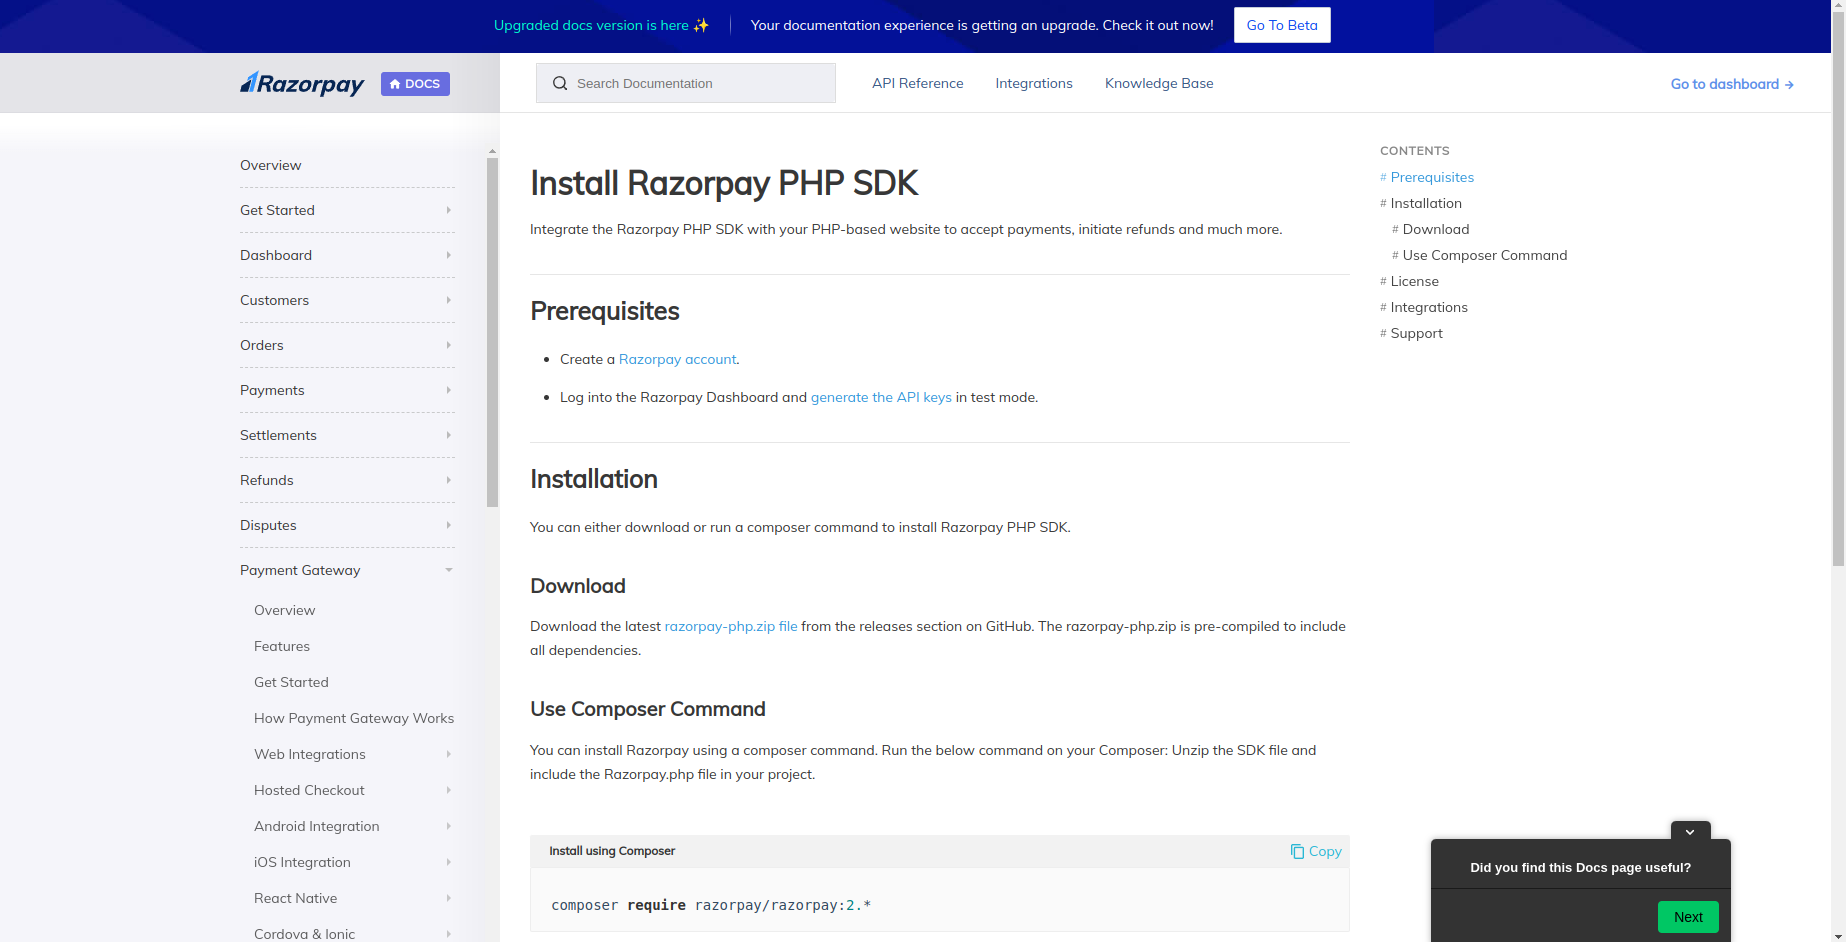
3. You can Find the Razorpay PHP Integration Documentation for support, here https://razorpay.com/docs/payments/server-integration/php/install/
4.Then Install using composer, Go to project terminal and run the following command :
composer require razorpay/razorpay:2.*
5.In order to use razorpay we have to generate a razorpay id and api key, Login to razorpay account
Go to : Settings -> Api keys -> Generate Test Key

6.Create your routes in web.php which is found in routes folder,
// This route is for payment initiate page
               Route::get('/payment-initiate',function(){

                        return view('payment-initiate');

                 });
// for Initiate the order
Route::post('/payment-initiate-request','PaymentController@Initiate');
// for Payment complete
Route::post('/payment-complete','PaymentController@Complete');
7.Create your Payment Blade file,
<!DOCTYPE html>
<html>
<head>
<meta charset="utf-8">
<meta name="viewport" content="width=device-width, initial-scale=1">
<title>Payment</title>
<!-- Add stylesheet -->
<link href="{{asset('css/style.css')}}" rel="stylesheet">
</head>
<body>
<div class="container login-container">
<div class="login-card">
<div class="login-card-body">
<form action="{{url('/payment-initiate-request')}}" method="POST">
<div class="row">
<input type="hidden" value="{{csrf_token()}}" name="_token" />
<label for="name">Name</label> :
<input type="text" class="form-control" id="name" name="name">
</div></br>
<div class="row">
<label for="email">Email</label> :
<input type="text" class="form-control" id="email" name="email">
</div></br>
<div class="row">
<label for="contactNumber">Contact Number</label> :
<input type="text" class="form-control" id="contactNumber" name="contactNumber">
</div></br>
<div class="row">
<label for="address">Address</label> :
<input type="text" class="form-control" id="address" name="address">
</div></br>
<div class="row"> <label for="amount">Amount</label> :
<input type="text" class="form-control" id="amount" name="amount">
</div></br>
          <button type="submit" class="btn btn-primary">Submit</button> </form> </div> </div> </div> </body>

         </html>
8.Make a new controller with the name of PaymentController.php where we create an order and return a response to initiate the payment,
 namespace App\Http\Controllers;

use Illuminate\Http\Request;

use App\Http\Controllers\Controller;

use Razorpay\Api\Api;

use Illuminate\Support\Str;

class PaymentController extends Controller

{

private $razorpayId = "-- Your razorpay Id --";

private $razorpayKey = "-- Your razorpay key --";

public function Initiate(Request $request)

{

// Generate random receipt id

$receiptId = Str::random(20);

// Create an object of razorpay

$api = new Api($this->razorpayId, $this->razorpayKey);

// In razorpay you have to convert rupees into paise we multiply by 100

// Currency will be INR

// Creating order

$order = $api->order->create(array(

'receipt' => $receiptId,

'amount' => $request->all()['amount'] * 100,

'currency' => 'INR'

)

);

// Return response on payment page

$response = [

'orderId' => $order['id'],

'razorpayId' => $this->razorpayId,

'amount' => $request->all()['amount'] * 100,

'name' => $request->all()['name'],

'currency' => 'INR',

'email' => $request->all()['email'],

'contactNumber' => $request->all()['contactNumber'],

'address' => $request->all()['address'],

'description' => 'Testing description',

];

// Let's checkout payment page is it working

return view('payment-page',compact('response'));

}

}
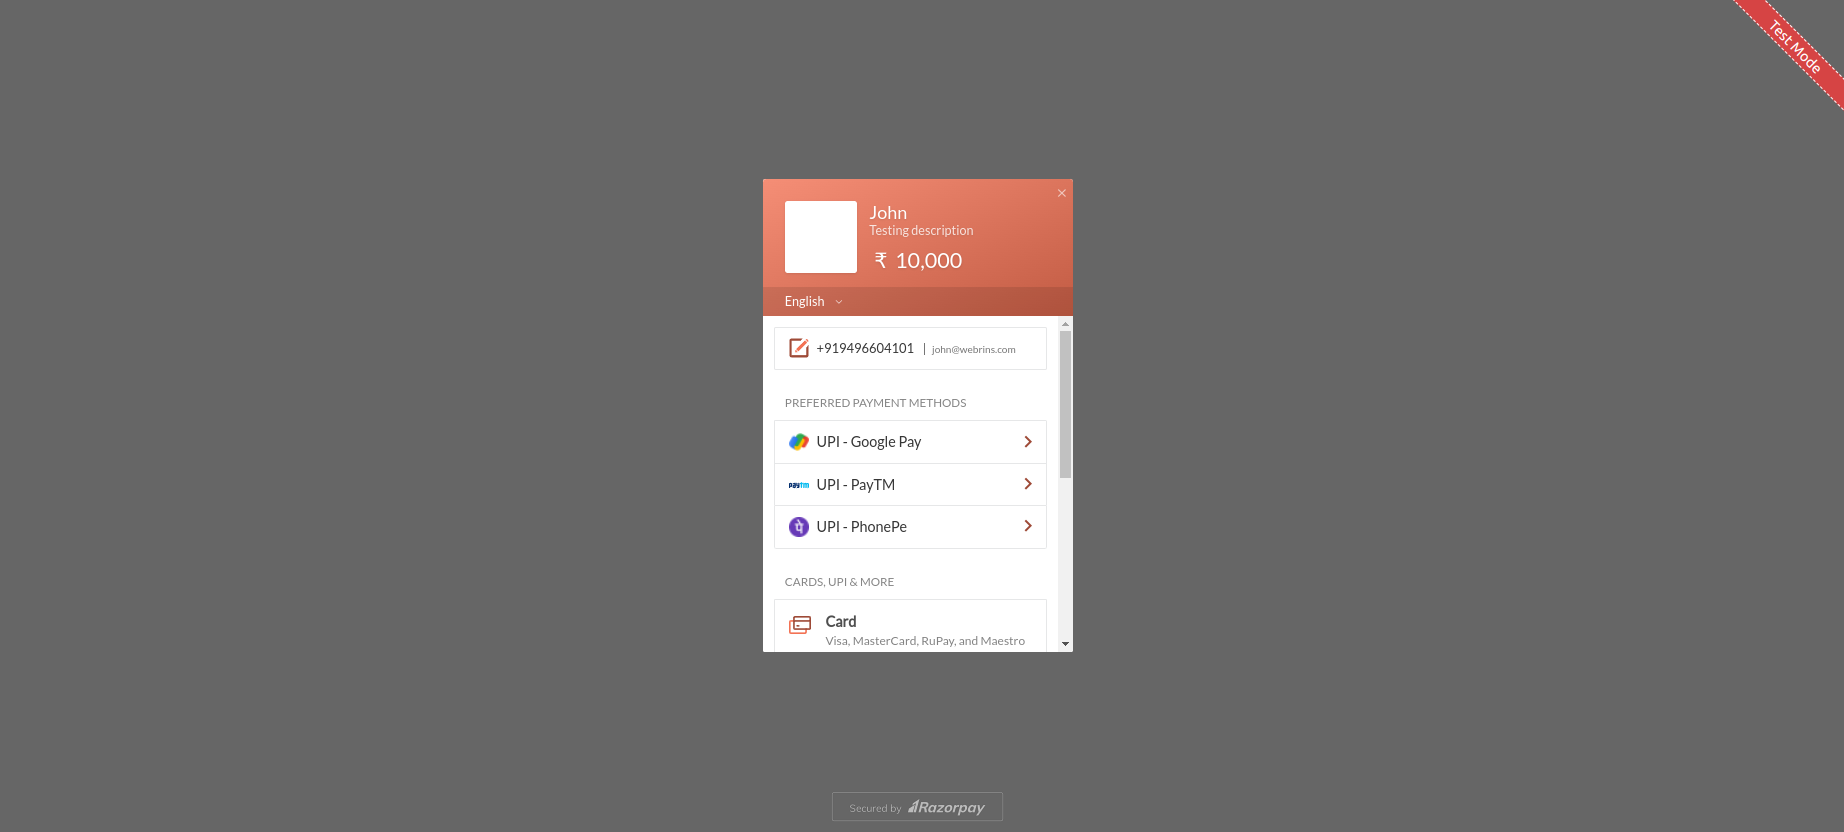
9.Create checkout blade, On this page, we provide the order details to the Razorpay function to show the transaction page. When payment is done successfully than the handler function holds the payment data and then we send this data to the controller for the payment verification process.
Create a checkout page under resources → views → payment-page.blade.php and copy the below code on your payment page.
<!-- // Let's Click this button automatically when this page load using javascript -->

<!-- You can hide this button -->

<button id="rzp-button1" hidden>Pay</button>

<script src="https://checkout.razorpay.com/v1/checkout.js"></script>

<script>

var options = {

"key": "{{$response['razorpayId']}}", // Enter the Key ID generated from the Dashboard

"amount": "{{$response['amount']}}", // Amount is in currency subunits. Default currency is INR. Hence, 50000 refers to 50000 paise

"currency": "{{$response['currency']}}",

"name": "{{$response['name']}}",

"description": "{{$response['description']}}",

"image": "https://example.com/your_logo", // You can give your logo url

"order_id": "{{$response['orderId']}}", //This is a sample Order ID. Pass the `id` obtained in the response of Step 1

"handler": function (response){

// After payment successfully made response will come here

// send this response to Controller for update the payment response

// Create a form for send this data

// Set the data in form

document.getElementById('rzp_paymentid').value = response.razorpay_payment_id;

document.getElementById('rzp_orderid').value = response.razorpay_order_id;

document.getElementById('rzp_signature').value = response.razorpay_signature;

// // Let's submit the form automatically

document.getElementById('rzp-paymentresponse').click();

},

"prefill": {

"name": "{{$response['name']}}",

"email": "{{$response['email']}}",

"contact": "{{$response['contactNumber']}}"

},

"notes": {

"address": "{{$response['address']}}"

},

"theme": {

"color": "#F37254"

}

};

var rzp1 = new Razorpay(options);

window.onload = function(){

document.getElementById('rzp-button1').click();

};

document.getElementById('rzp-button1').onclick = function(e){

rzp1.open();

e.preventDefault();

}

</script>

<!-- This form is hidden -->

<form action="{{url('/payment-complete')}}" method="POST" hidden>

<input type="hidden" value="{{csrf_token()}}" name="_token" />

<input type="text" class="form-control" id="rzp_paymentid" name="rzp_paymentid">

<input type="text" class="form-control" id="rzp_orderid" name="rzp_orderid">

<input type="text" class="form-control" id="rzp_signature" name="rzp_signature">

<button type="submit" id="rzp-paymentresponse" class="btn btn-primary">Submit</button>

</form>
10.Create a method in the controller for transaction verification,
After creating the checkout page. Let’s verify the transaction data which comes through the hander function in checkout page. Razorpay provide payment Id, order Id, and signature. Signature is use for verify the payment id and order id not intercepted in between this process.
Add these two functions in PaymentController.php to verify the payment.
public function Complete(Request $request)

{

// Now verify the signature is correct . We create the private function for verify the signature

$signatureStatus = $this->SignatureVerify(

$request->all()['rzp_signature'],

$request->all()['rzp_paymentid'],

$request->all()['rzp_orderid']

);

// If Signature status is true We will save the payment response in our database

// In this tutorial we send the response to Success page if payment successfully made

if($signatureStatus == true)

{

// You can create this page

return view('payment-success-page');

}

else{

// You can create this page

return view('payment-failed-page');

}

}

// In this function we return boolean if signature is correct

private function SignatureVerify($_signature,$_paymentId,$_orderId)

{

try

{

// Create an object of razorpay class

$api = new Api($this->razorpayId, $this->razorpayKey);

$attributes = array('razorpay_signature' => $_signature, 'razorpay_payment_id' => $_paymentId , 'razorpay_order_id' => $_orderId);

$order = $api->utility->verifyPaymentSignature($attributes);

return true;

}

catch(\Exception $e)

{

// If Signature is not correct its give a excetption so we use try catch

return false;

}

}
11.The final outputs comes like this,